
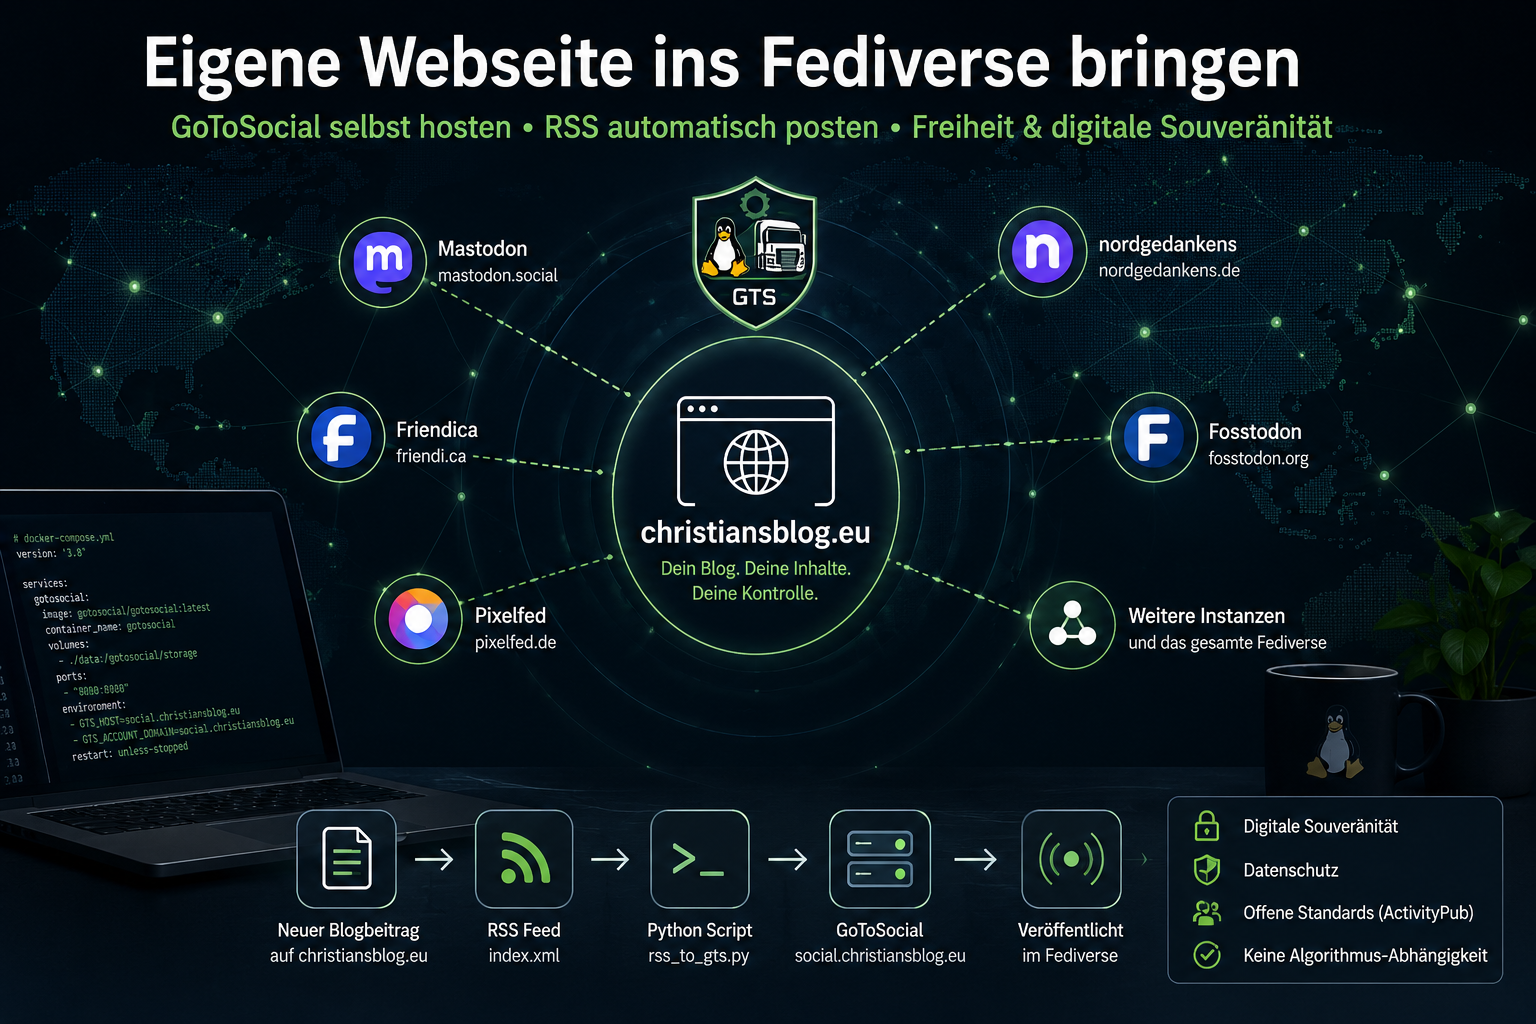
Bring Your Own Website to the Fediverse
What is the Goal?
In this tutorial, I will show you how to connect your website directly to the Fediverse so that new blog posts automatically appear on Mastodon and other federated services.
The goal:
- Your own blog remains the main platform
- New posts are automatically published in the Fediverse
- Readers can follow the blog directly
- No dependency on Facebook, X, or other platforms
What is the Fediverse?
Simply put, the Fediverse is a decentralized social network.
Instead of a single platform, there are many independent servers that can communicate with each other.
Mastodon is just one of many platforms.
You can think of it like email:
Someone with a Gmail address can write to someone at Posteo.
It works similarly in the Fediverse.
A user on Mastodon can subscribe to, comment on, and share accounts on other servers.
Prerequisites
The following should already be available:
- Domain
- VPS or Server
- Debian or Ubuntu
- Docker + Docker Compose
- nginx Reverse Proxy
- HTTPS via Let’s Encrypt
- RSS feed of your website
In my case:
- Hugo website
- Debian VPS
- nginx Reverse Proxy
- GoToSocial as a Single-User Instance
What You Should Already Know
This tutorial is aimed more at technically interested users and self-hosters. You don’t have to be an administrator, but knowing some basics will help enormously.
The following things you should roughly master:
- Connect to a server via SSH
- Execute basic Linux commands
- Edit files with an editor like
nano - Set DNS entries at the domain provider
- Adjust nginx configurations
- Start Docker and Docker Compose
- Create HTTPS certificates via Let’s Encrypt
If some points still mean nothing to you: No problem. You can still follow the tutorial – you might need to look up individual terms briefly along the way.
Prepare Subdomain
I used my own subdomain:
social.deinedomain.tld
Set an A record at the DNS provider to point to the VPS, if necessary. In my case, this is required because this website is hosted here not on a VPS but with a web hoster. Once we have made the DNS entry, check if it works: dig social.deinedomain.tld
The result should look roughly like this:
| |
It is important that in ANSWER SECTION your server’s IP address appears.
Install GoToSocial
Create directories:
| |
Create docker-compose.yml:
| |
Start: docker compose up -d and also check if it runs: docker ps.
nginx Reverse Proxy
We create the following file: nano /etc/nginx/sites-available/social-blog and put this in there:
| |
Then the whole thing also needs to be activated:
| |
HTTPS via Certbot
Of course, we also insist on https here, so we get a free SSL certificate from letsencrypt:
sudo certbot --nginx -d social.deinedomain.tld
Create User
| |
We also need admin rights, because without it, it won’t work. We will see the reason later.
| |
Warning!There can still be a stumbling block here! And that is that the account is hidden.
In my case, the account was created like this:
| |
However, this caused federation not to work properly. Because the Fediverse is a Federated Network and we want this function so that then every instance, every user in the Fediverse can see and follow our blog.
So we must check the following: sqlite3 ~/fediblog/gotosocial/data/gotosocial.db.
Then: SELECT username, locked, discoverable FROM accounts;
If that comes out as it was with me, then we must correct that:
| |
Afterwards we start the whole thing once again: docker restart gotosocial.
Create OAuth App
Goto Social works and is reachable via your domain social.deinedomain.tld.
So we switch to the browser and enter https://social.deinedomain.tld in the address bar.
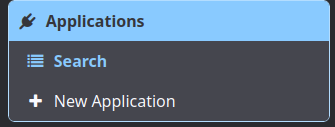 Log in with the created user data (email address and password), then go to Settings -> Application. There a menu opens where we go to New Application to create a new “App”.
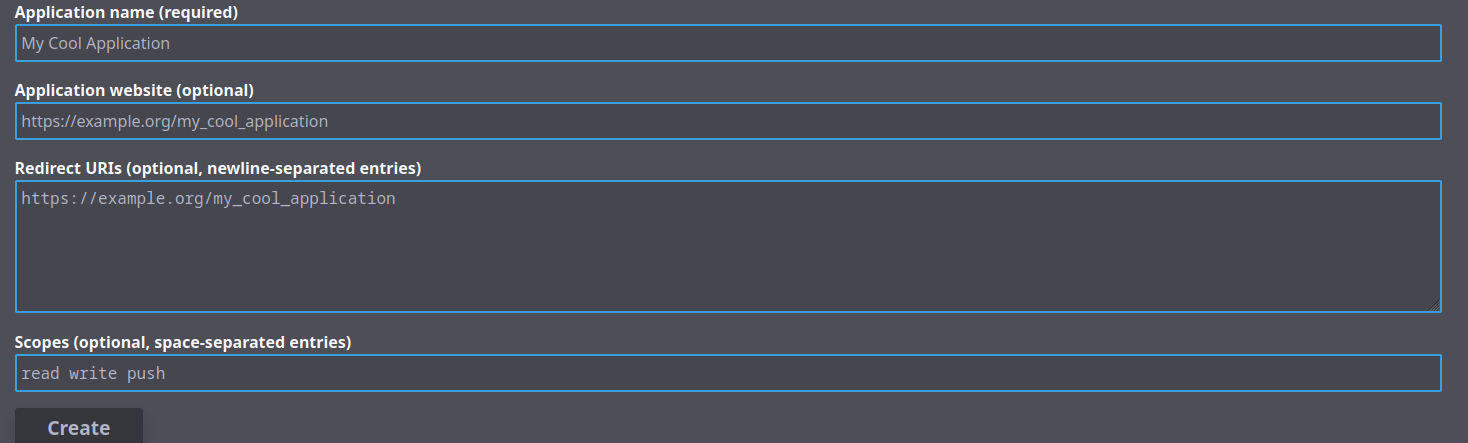 The name of the app you find out for yourself.
Application website (optional) is, as you can see, optional.
What we want is to enter under Redirect URIs (optional, newline-separated entries). It is already stated at the top in the explanation but here again: urn:ietf:wg:oauth:2.0:oob.
Do not use your own URL. That was one of my biggest sources of error.
We have the basic framework ready with that. Now comes the “fine tuning”. 😄
Auto-post RSS
Let’s create a directory again. We haven’t done that in a long time 😁. I will write down the entire next step here:
| |
NoteOn Debian-based distributions like Debian, Ubuntu or LMDE, the package
python3-venvmay need to be installed first:sudo apt install python3-venvThen you can create a Python Virtual Environment:
1 2python3 -m venv venv source venv/bin/activate
Once that is done, we install something again:
pip install feedparser requests
Auto-post RSS to Fediverse
After the GoToSocial instance is running, only automation is missing.
Goal is:
As soon as a new blog post appears, it will be automatically published in the Fediverse.
Since Hugo already generates an RSS feed (index.xml), we can simply read this and automatically post new posts.
Create Python Virtual Environment
First we create a separate Python environment.
Create directory:
| |
Create virtual environment:
| |
Note:
On Debian-based distributions like Debian, Ubuntu or LMDE, the following package may need to be installed first:
sudo apt install python3-venv
Install required Python packages:
pip install feedparser requests
Securely Store Access Token
Instead of entering the Access Token directly into the Python script, we use an environment variable.
This is cleaner and more secure—especially if the script is later publicly documented or versioned.
Open file:
nano ~/.bashrc
Add at the very bottom:
export GTS_ACCESS_TOKEN="DEIN_ACCESS_TOKEN"
Reload shell:
source ~/.bashrc
Check:
echo $GTS_ACCESS_TOKEN
If the token is displayed, everything works.
Create Python Script
Create file:
nano rss_to_gts.py
Insert following content:
| |
How does the script work?
The script does the following:
- Fetch RSS feed of your website
- Determine latest post
- Check if it has already been posted
- Remove HTML from the summary
- Automatically publish the post
- Save ID locally to prevent duplicate posts
The file:
last_post.json
remembers the last published post.
This prevents duplicate posts from being created.
Deliberately Use Hugo Summary
A small practical tip:
The script uses:
summary = ""
from your Hugo Frontmatter.
Manage this value deliberately.
Why?
The summary will later become your preview text in the Fediverse.
A good summary usually leads to significantly more interactions than automatically truncated text.
Example:
summary = "So bringst du deine Webseite ins Fediverse und veröffentlichst neue Beiträge automatisch über GoToSocial."
Test Script
Manually start:
python rss_to_gts.py
Possible output:
Beitrag veröffentlicht.
Or:
Kein neuer Beitrag.
Run Automatically via Cronjob
Open cron job:
crontab -e
Add entry:
*/10 * * * * cd /home/USER/fediblog/rss-bot && /home/USER/fediblog/rss-bot/venv/bin/python rss_to_gts.py >> bot.log 2>&1
This checks the RSS feed every 10 minutes.
New posts then appear automatically in the Fediverse.
Final Steps
We are slowly approaching the end of this tutorial. If you have everything running without problems up to here, you now have your blog integrated into the Fediverse via Active Pub. Your page can now be seen from all instances on Mastodon, and every user can follow it.
At the end, we test the federation one more time by opening the page https://social.deinedomain.tld/@blog and searching for the site via the search function on Mastodon @blog@social.deinedomain.tld.
If new posts appear, the federation is working.
Conclusion
With a small GoToSocial instance, you can directly integrate your own website into the Fediverse.
New posts appear automatically in the Fediverse and readers can follow the blog directly—regardless of which platform they use.
For me, this is not just a technical gimmick, but also a step towards digital sovereignty.
Instead of publishing content exclusively on central platforms like Facebook, Instagram, or X, you retain control over your own infrastructure, your own content, and your own reach.
This concretely means:
- own domain instead of platform dependency
- open standards instead of proprietary systems
- no algorithmic reach management
- no forced profile creation for advertising purposes
- less tracking and data collection
Of course, the Fediverse is not a completely anonymous space, and federation always also implies data exchange between instances. The decisive difference is however:
You can decide yourself whom you trust, which software you use, and where your own data lies.
Especially for blogs around Open Source, Linux, data protection, or digital sovereignty, this is an exciting alternative to classic social networks.
And perhaps that is exactly the real strength:
Your own website remains the center—social networks are used only for distributing content, instead of becoming the sole platform.