Migrating a Nextcloud Server from a USB NVMe to an Internal Hard Drive – Without Reinstallation
In my case, Debian along with Nextcloud was running on an external NVMe in a USB enclosure. Originally intended only as a temporary solution after my laptop failed and while I waited for a good deal on a larger hard drive, it turned out that, as often happens in IT, provisional setups tend to last longer than originally planned.
Over time, issues began to accumulate: SSH would respond sporadically, services would seemingly disappear from the network without reason, and Nextcloud became increasingly unreliable. After a reboot, everything usually worked again – but never permanently.
Upon closer inspection, however, a bottleneck emerged: the supposedly fast NVMe was effectively connected only at USB 2.0 speeds – not a good idea for a production Nextcloud server in the long term.
Instead of reinstalling the entire system, I decided on another approach:
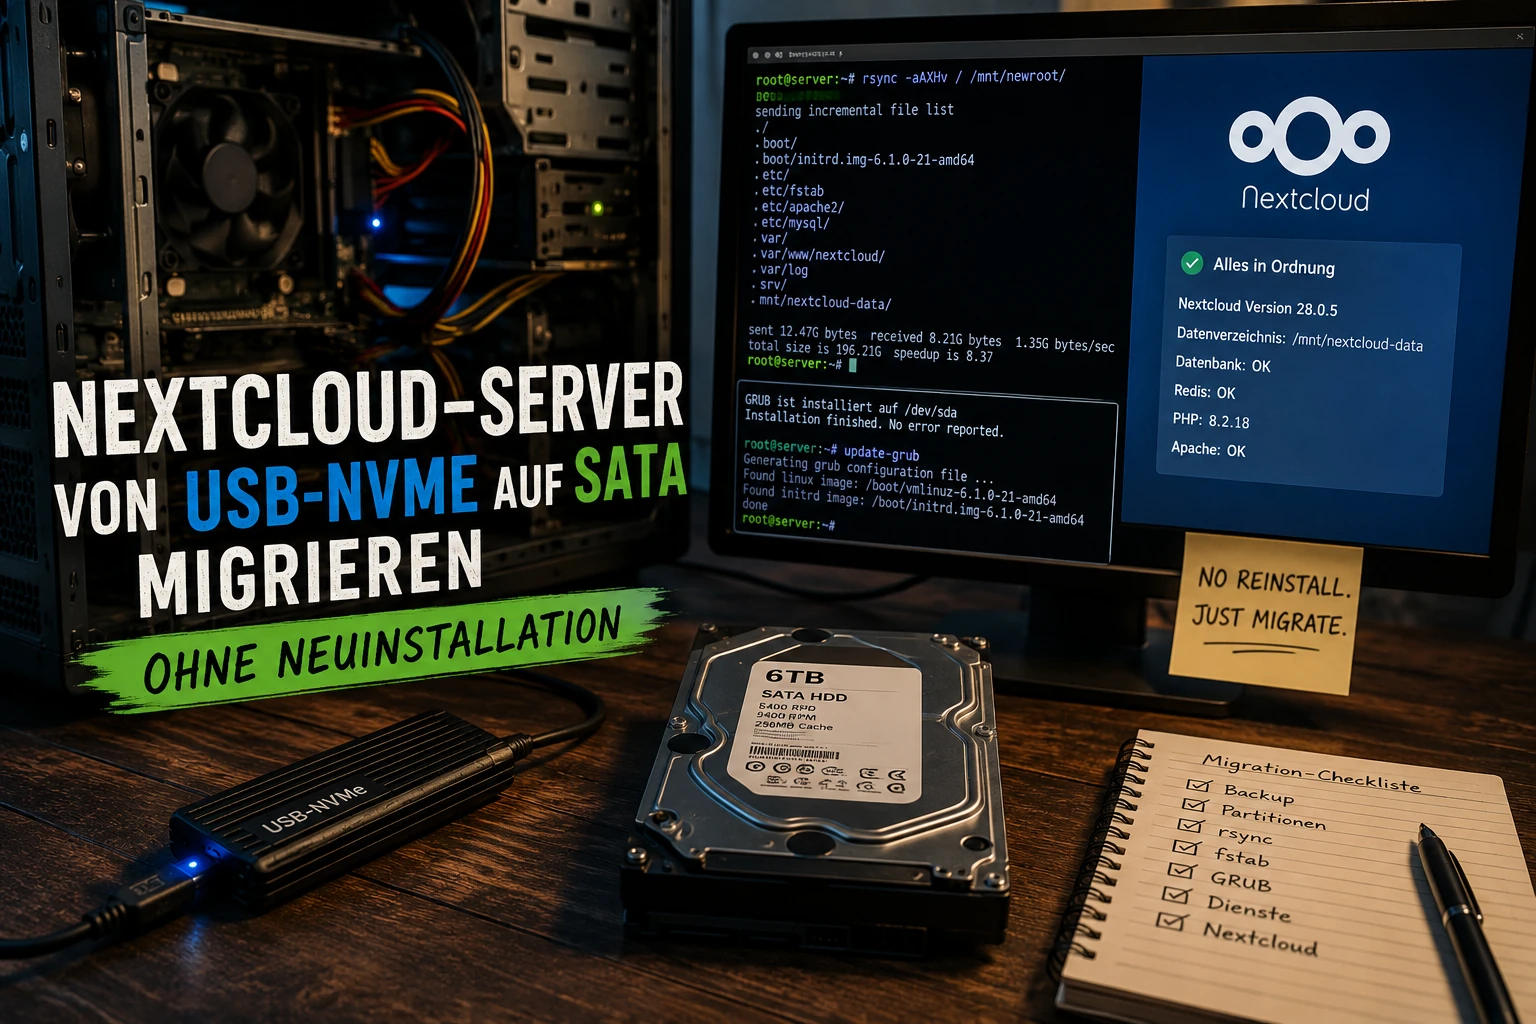
I migrated the running Debian system along with Nextcloud to an internal 6-TB SATA hard drive – without reinstallation.
And it is precisely these steps that I document here.
Preliminary: What You Should Know
Without prior knowledge, this will be difficult. You don’t need to be a Linux expert, but you should be familiar with a few things:
- basic familiarity with the terminal
- understanding what partitions are
- no fear of working with
rsync,mountorfstab - a complete backup – seriously, make one
The last point is especially important. Even though the following steps worked for me: anyone migrating production systems should always assume that something can go wrong.
Step 1: Inventory – Where is what actually located?
Before copying anything, you should first examine how the existing system is set up.
The following commands help with this:
| |
In my case, the situation looked simplified as follows:
- the system partition was on an external USB NVMe
/srvcontained larger data sets- Nextcloud data were stored separately
/varwas a separate partition containing Apache, PHP and Nextcloud files
This last point is particularly important:
Many guides forget /var. Yet it is often exactly there that things lie which later suddenly seem to have “disappeared”:
| |
If you forget /var, you will often end up with a server that boots – but whose services no longer function.
Step 2: Preparing the new hard drive
Since the new 6-TB SATA should accommodate both system and data in the long term, I again decided on separate partitions.
My structure:
/(Root) → 100 GB/var→ 40 GBswap→ 16 GB/srv→ 2 TB- Nextcloud data → rest of the drive
I partitioned using:
| |
Important note:
If your computer still runs in classic BIOS/Legacy mode and the drive uses GPT, you need an additional small:
| |
This should be about 2 MiB in size.
I initially overlooked this point – and that is exactly what led to a GRUB read error later on.
Step 3: Creating file systems
After partitioning, the file systems must be created.
Example:
| |
Then mount the partitions:
| |
This can be checked with:
| |
At this point, it should already be visible whether all target partitions have been mounted correctly.
Step 4: Copying the running system
Here comes the actual trick:
Instead of reinstalling everything anew, the running system is simply copied.
For this purpose, rsync is suitable because rights, owners and symlinks are preserved.
For the root partition:
| |
Then separately:
| |
And – if separate – the Nextcloud data:
| |
Important:
Only after all data have been copied should you proceed.
Step 5: Adjusting /etc/fstab – so the system knows where things belong
After all data have been copied, follows a step that is often underestimated – but which decides whether the new system will start cleanly later on:
The new hard drive must know which partition should be mounted where.
For this purpose, the file /etc/fstab serves.
First, you should display the UUIDs of the new partitions:
sudo blkid
The output looks approximately like this:
| |
Then edit the fstab of the new installation – not that of the running system, but that on the target drive:
sudo nano /mnt/newroot/etc/fstab
There, the UUIDs must be adapted to the new hardware.
In my case, this looked simplified approximately like this:
| |
Especially separated directories such as /srv, /var or a separate Nextcloud data directory should be checked carefully here.
Because if there is an error here, the system may start – but services like Apache, MariaDB or Nextcloud will suddenly seem to have “disappeared”, because their data simply were not mounted.
So a quick check is worthwhile.
Step 6: Installing GRUB – if the new storage device won’t boot
After all data have been copied and fstab adjusted, one crucial step is still missing:
The new storage device must be made bootable.
I myself initially fell into a trap here.
The first boot attempt simply ended in a GRUB load read error.
The cause: although the system had been completely copied, the bootloader was not installed correctly.
First, the necessary system paths must be mounted:
| |
Then switch to the new installation with: sudo chroot /mnt/newroot /bin/bash.
Now GRUB can be installed on the new hard drive:
| |
Important:
Who – like me – still works in Legacy-BIOS mode with GPT partitioning absolutely needs a small BIOS boot partition.
This should be approximately 2 MiB in size and have the type bios_grub.
If this partition is missing, grub-install will quit with an error message because GRUB cannot find space to embed itself correctly.
After a successful installation, you can leave the chroot again: exit.
And then cleanly unmount everything: sudo umount -R /mnt/newroot.
At this point, the new hard drive should be bootable on its own.
A tip from personal experience:
For the first test, it is best to physically remove the old NVMe or adjust the boot order in the BIOS. Otherwise, you will quickly end up accidentally back on the old system – and later wonder why changes apparently were not “taken over”.
Troubleshooting: When things don’t work immediately after migration
Those who believe that after a successful rsync the work is done are often taught a better lesson with production systems. Especially when an existing Linux installation along with services like Nextcloud, MariaDB, or Redis is moved to new hardware, small inconsistencies can have major effects.
In my case, the system did start again, but the way back to a functioning Nextcloud was far from straightforward.
Apache no longer starts
The first stumbling block appeared directly after booting: Apache refused the service.
A look at the logs quickly brought clarity:
| |
The cause was ultimately banal but consequential: When copying the old installation, the separate /var partition was not fully transferred. Consequently, the following were missing among others:
/var/www/nextcloud/var/log/apache2- Parts of
/var/lib
The solution consisted of cleanly copying the contents of the old /var partition again to the new partition:
| |
Subsequently, Apache could be started again:
| |
MariaDB does not start
Shortly thereafter, the next problem appeared: Nextcloud reported only an internal server error.
The actual cause was revealed only in the terminal:
| |
MariaDB could not create files in /var/lib/mysql because parts of the original data were also missing here.
After copying /var again, the database server started without problems:
| |
A quick functionality test:
| |
If Nextcloud shows version information here instead of an error message, the database connection has been restored.
Nextcloud shows only “Internal Server Error”
After a successful database start, Nextcloud still appeared defective initially. The web interface loaded, but ended in an internal server error.
In such cases, it is worth looking directly at the Nextcloud logs:
| |
In my case, it was not the core system that was defective, but the Office integration (richdocuments / Collabora Online). During migration, parts of the app cache had been damaged.
The pragmatic solution:
| |
After a restart of Apache and PHP, Nextcloud worked normally again:
| |
The Office function can be reinstalled or cleanly reactivated at any time later.
Individual updates work – “Update All” does not
A particularly curious problem appeared only later: Individual app updates ran smoothly, but the “Update All” button quit with error messages.
The cause lay in a very conservative PHP-FPM configuration. By default, only five worker processes were allowed – far too little for several parallel update operations.
Check the current configuration:
| |
The adjustment is made in:
| |
The following values proved to be significantly more stable:
| |
After that, a restart is sufficient:
| |
Subsequently, the batch update of apps worked reliably again.
What you should take from the migration
The actual data move was ultimately the easiest part. The real challenge consisted in cleanly restoring hidden dependencies between partitions, services, and paths.
Especially with older Linux systems with separate partitions for /var, /srv or offloaded data directories, it is worth checking the following services specifically after migration:
| |
Because if one of these gears is missing, the operating system stands – but the actual application often does not.